OneCloud Integrations | How to Setup the Microsoft Dynamics 365 Integrator in UCaaS Portal
How to Setup the Microsoft Dynamics 365 Integrator in UCaaS Portal

Administrator Access Required
To set up this integration, you will need administrator access to your Microsoft Dynamics 365 account and at least an Office Manager within the UCaaS portal.

User Identity Matching
Email Address Identification: The OneCloud Portal uses email addresses to identify users in Microsoft Dynamics 365.
No Email Present? If a UCaaS Agent/User doesn't have an email address, the Microsoft Dynamics 365 administrator can add the user's extension number in Microsoft Dynamics 365 to enable identification.
Setup Steps
Step 1: Login to the OneCloud Portal
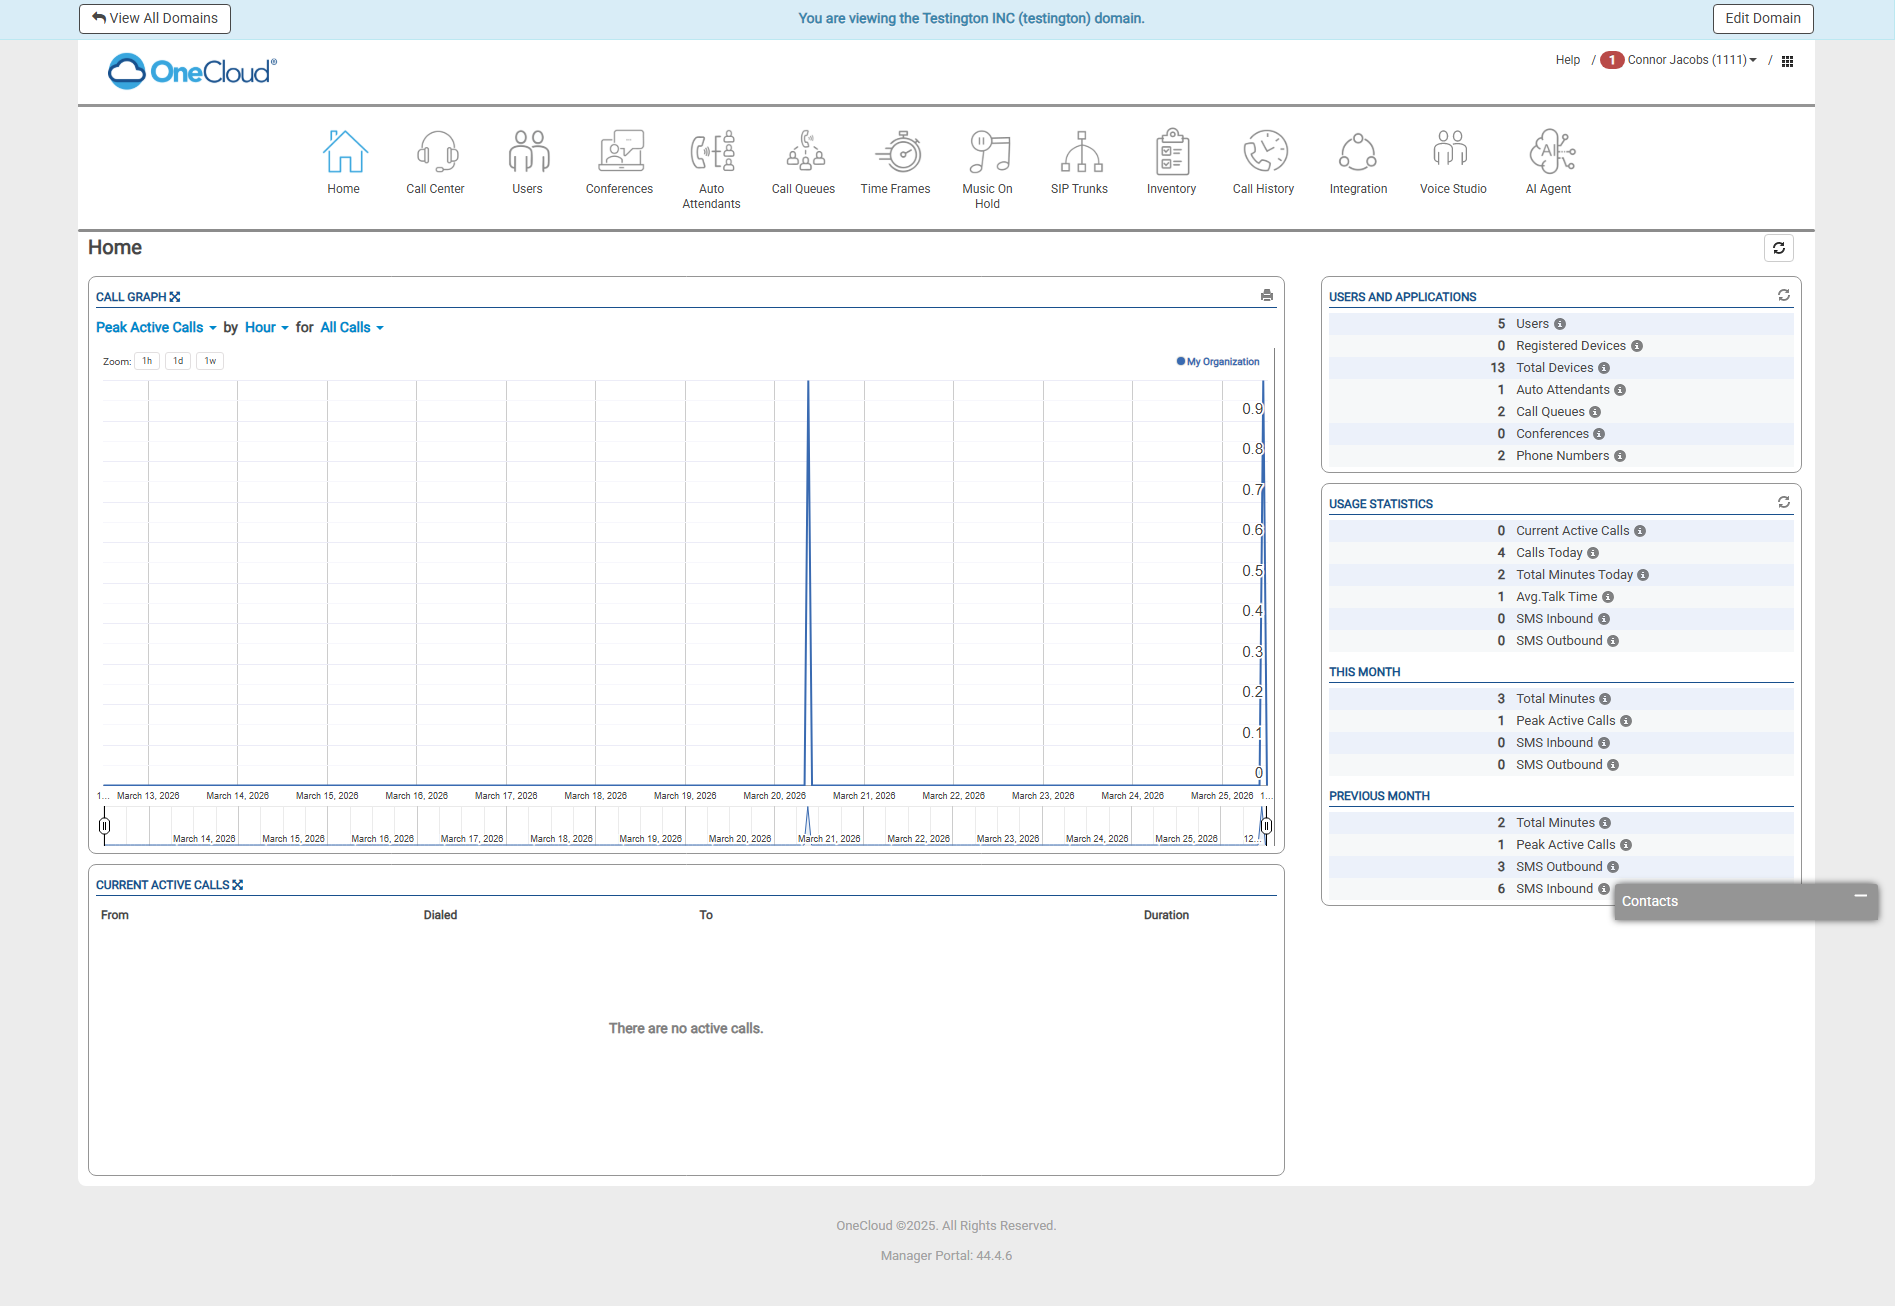
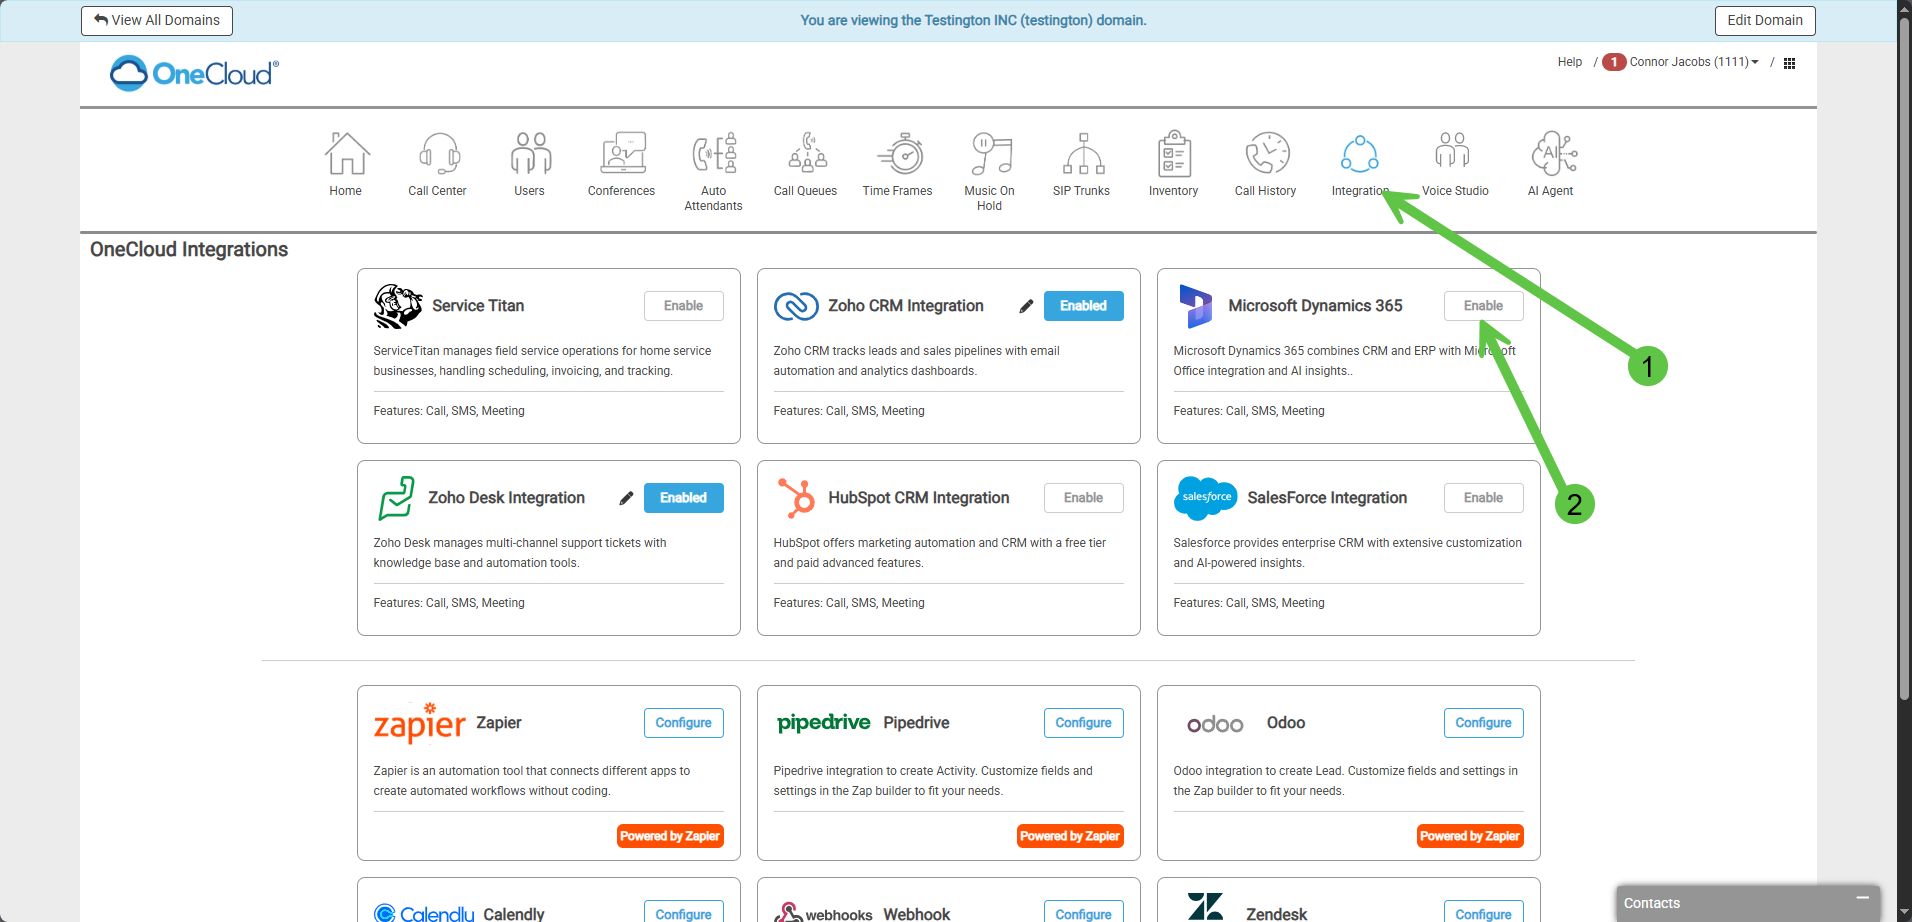
Step 2: Go to the "Integration" Tab and select the "Enable" button to the right of Microsoft Dynamics 365
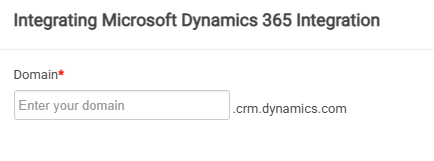
Step 3: Add Domain to URL Section
(This will launch a window to Accept/Approve the Connection)
(This will launch a window to Accept/Approve the Connection)
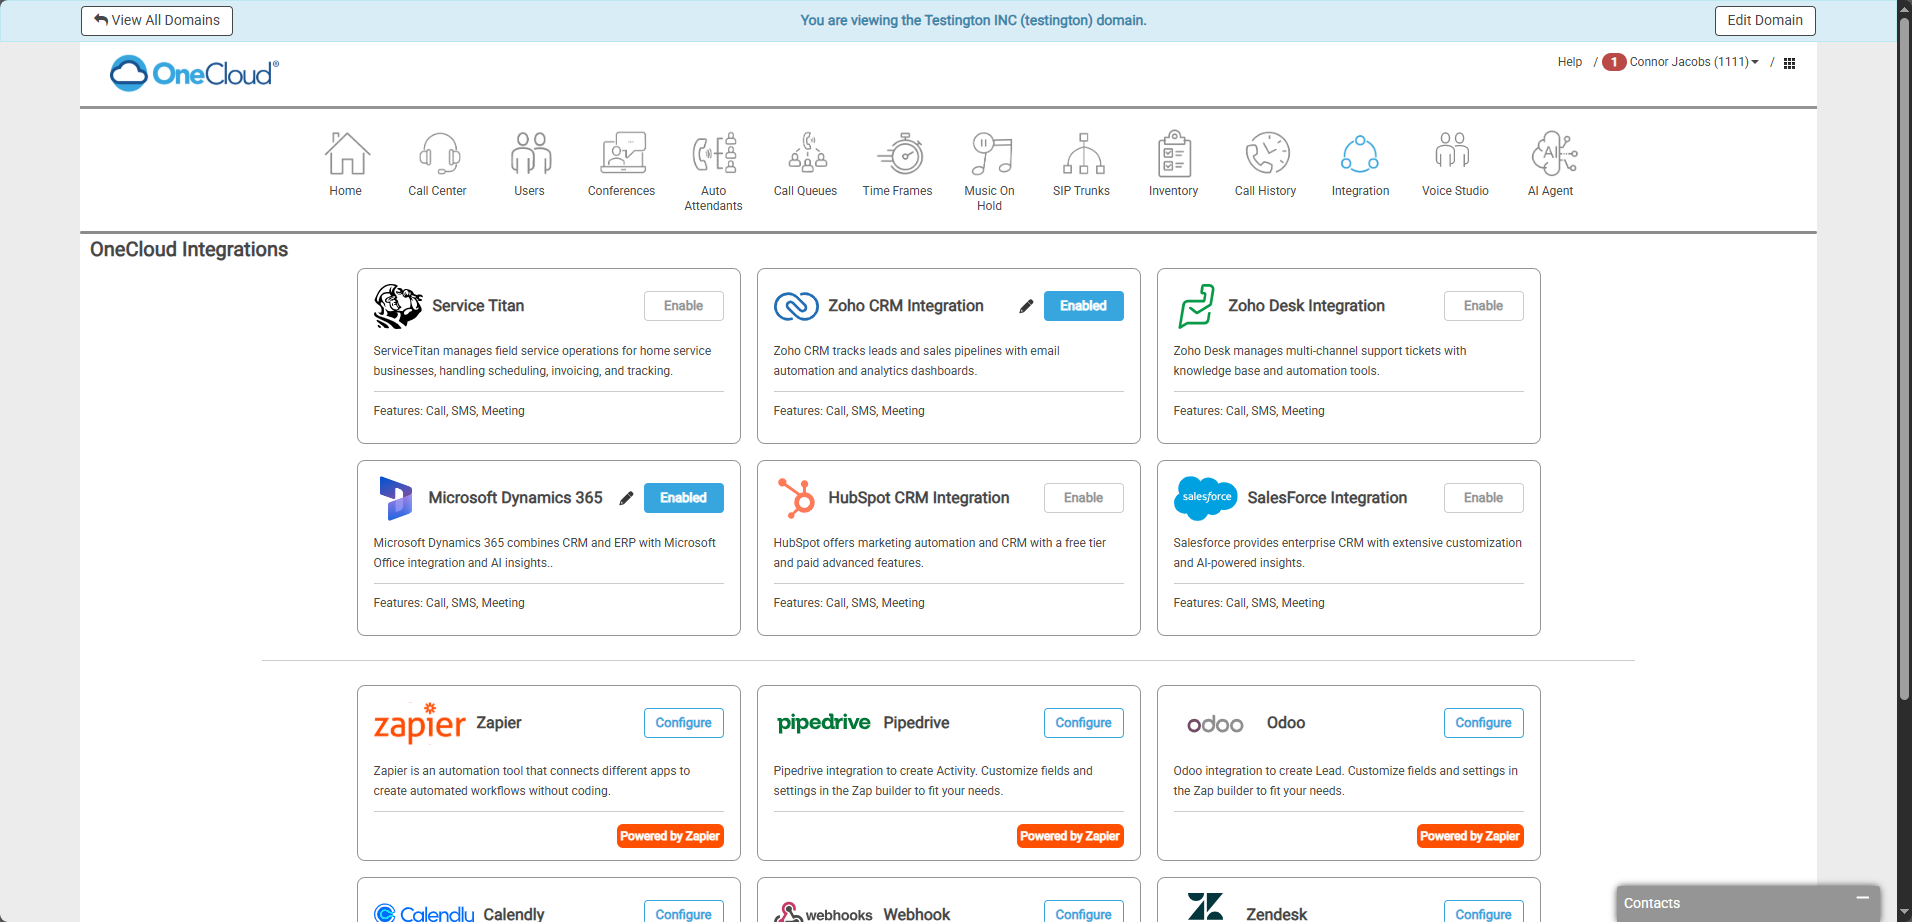
Step 4: Integration Successfully Linked
Screen Prompt:
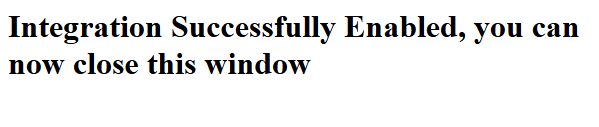
Screen Prompt:
Step 5: Adding Users to the Integrator
a. Hit the "Pencil" Icon to the Right of Microsoft Dynamics 365
b. Enable Users for Calls, SMS, and Meetings Data
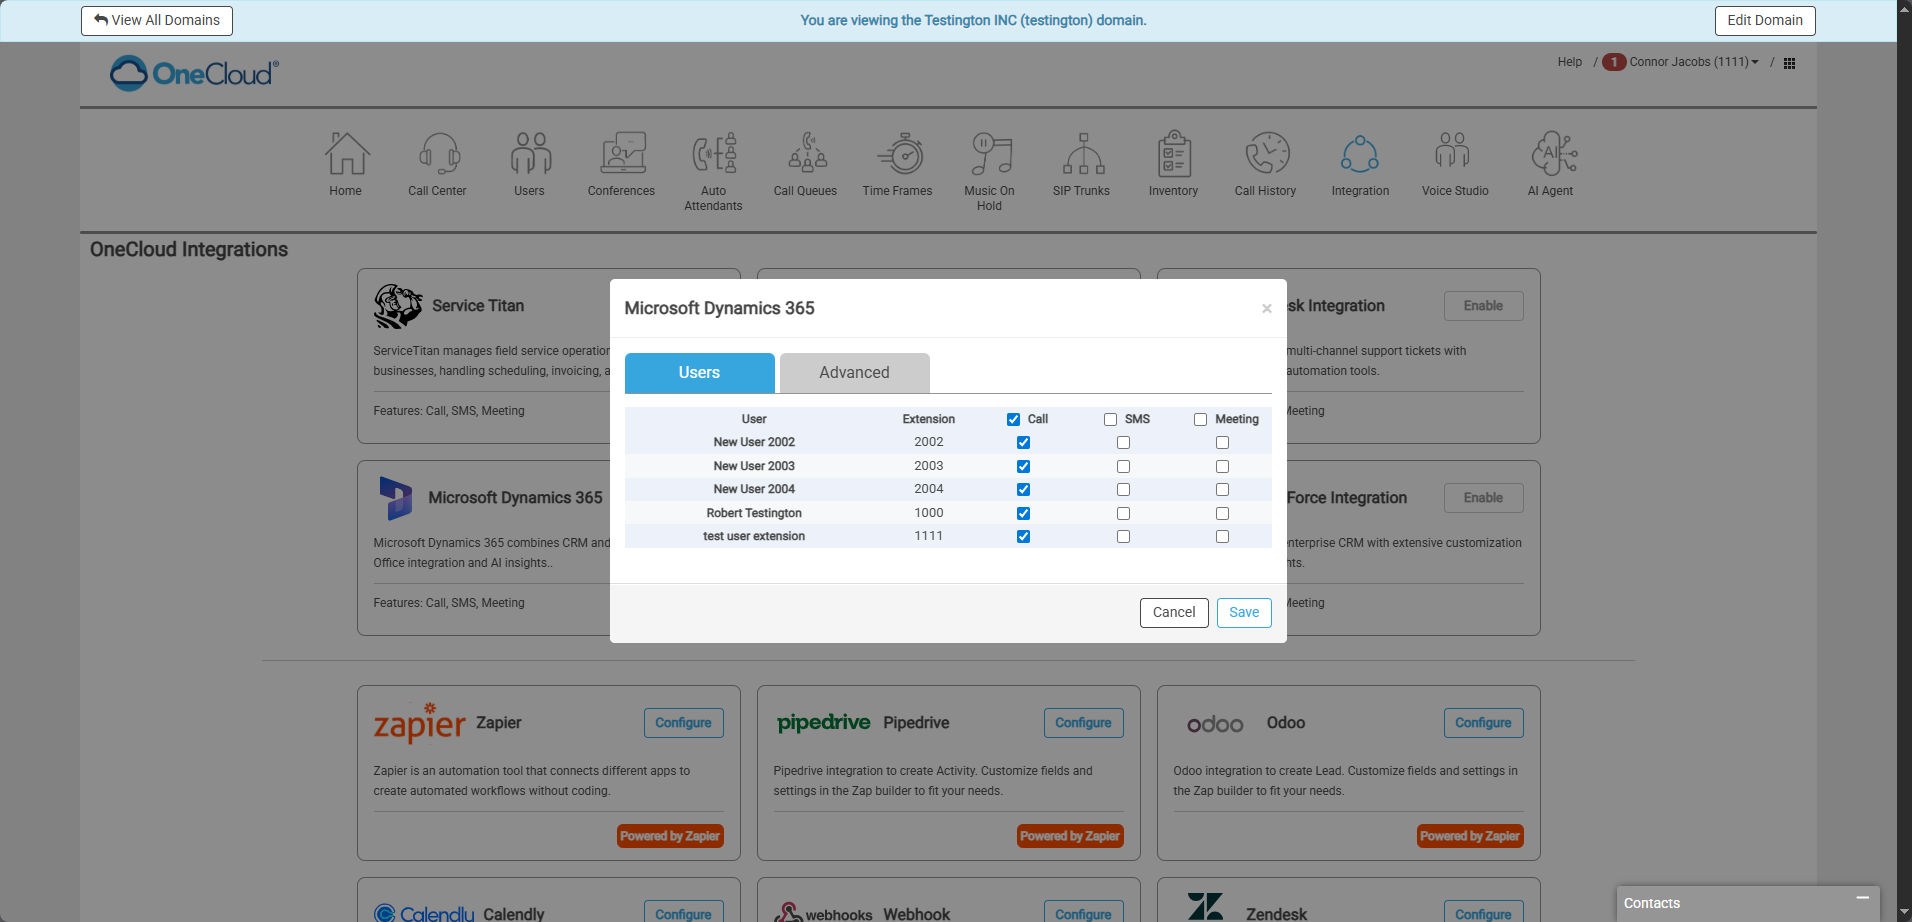
c. Access Tokens via the Advanced Section

Please Note: Any adjustments to the tokens may alter the data pushed to the Microsoft Dynamics 365 platform.
Default Tokens:
Contact: [[phone_number]]
Employee: [[employee]]
Call Direction: [[call_direction]]
Call Time: [[call_start]]
Call Event: [[call_event]]
Recording: [[recording_url]] [[transcription]]
If you have any questions or issues please reach out to OneCloud Support
Related Articles
OneCloud Integrations | How to Setup Service Titan Integrator in the UCaaS Portal
OneCloud Integrations | How to Setup Service Titan Integrator in the UCaaS Portal Please Note: You must be an Office Manager in the UCaaS Portal and an Administrator within the Service Titan CRM to configure this Integrator Cross-Platform User ...OneCloud Integrations | How to Setup the Zoho CRM Integrator in UCaaS Portal
OneCloud Integrations | How to Setup the Zoho CRM Integrator in UCaaS Portal ? Administrator Access Required To set up this integration, you will need administrator access to your Zoho CRM account. ⚠️ User Identity Matching Email Address ...OneCloud Integrations | How to Setup the Zoho Desk Integrator in UCaaS Portal
OneCloud Integrations | How to Setup the Zoho Desk Integrator in UCaaS Portal Administrator Access Required: To set up this integration, you will need administrator access to your Zoho Desk account. User Identity Matching: Email Address ...OneCloud Integrations | How to Setup the Salesforce Integrator
Guide to Setting Up the Salesforce Integrator in the UCaaS Portal Please Note: To use the Integrator, you need an admin account setup in Salesforce and an Office Manager within the UCaaS Portal User/Agent Identity: The OneCloud Portal uses email ...OneCloud Integration | Setting Up HubSpot CRM Integrator in the UCaaS Portal
Guide to Setting Up the HubSpot CRM Integrator in the UCaaS Portal Important Note: You must have an Admin account set up in HubSpot and be an Office Manager Scope in the UCaaS Portal to setup this integrator and access the Recording links. User/Agent ...